
But I just love my belly in this one! And what could be more meaningful than celebrating my pregnancy with some tasteful belly art?
 There has been a huge trend in the blog world of reusing and repurposing old furniture. I love it! Not necessarily because its green, but because its cheap! My budget is slightly less than on-a-dime, therefore my house is full of ugly free things! However, these gals are showing that with a bit of thought and spray paint, there are things I can make beautiful out of the free cheap and ugly bin. This dresser was given to us by some friends. I don't think its ugly, it just doesn't go with anything in my house. I knew I wanted to use it in the boys room, and I wanted it to be gray since I am introducing that color to their "scheme".
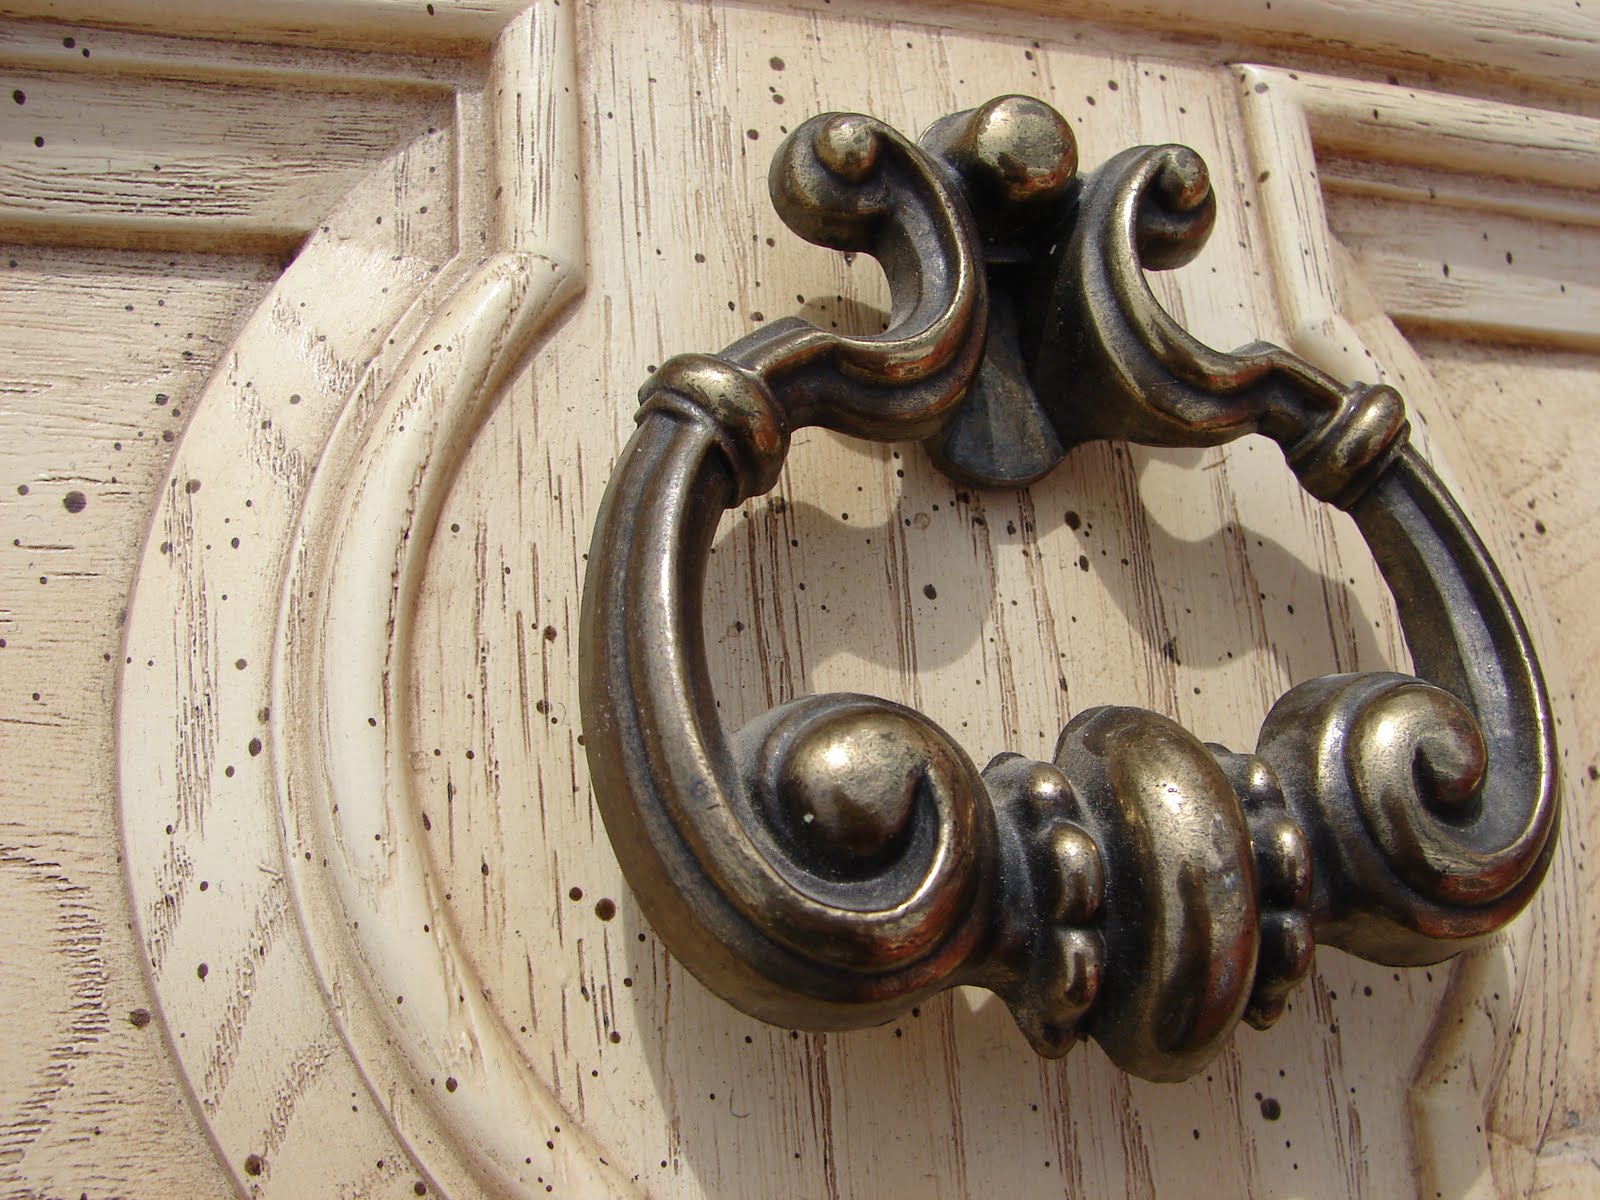
 The hardware is interesting, and there are GREAT details that I thought would glaze really well.
 First thing is to remove all hardware and spray paint black. I had a can of Rustoleum lying around, so I used that. I think I sprayed them about three times, letting them dry between coats and using the "thin and even" rule.
 Then I primered all the drawers and dresser itself. I used a colored primer since I was going for a gray end color. I didn't bother with washing or sanding the piece, and honestly I don't think it made that big a difference. Not exactly professional, but I can live with that! The whole thing took two cans of spray primer.

 Then I spray painted everything with gray spray paint. Took two cans. On to the fun part! I don't have a Lowes or Home Depot within three hours, but I do have an ACE Hardware. They actually had the glaze! It took a while to convince them it was possible, but eventually they tinted the glaze to a dark browny black color.
 Using an el cheapo brush, I just brushed the stuff on, making sure to get it in all the cracks and crevices. Then, before it was dry, I wiped it off with a damp rag, leaving just a little in the edges. I don't like overly distressed and chipped furniture a la shabby chic, but I think a little glazing can really bring out the wow.
 The top drawer is glazed, the bottom one isn't. See how understated it is? A little is best, in my opinion. After that, I glued and stapled a few of the drawer backs that were loose, and then rescrewed the handles back on.

 The end result? A really pretty piece of furniture that was cheap and easy to redo! All in all, it cost me about 25 dollars to redo, with the glaze being the most expensive at $14. Of course that glaze will probably last me the rest of my life!


