One of the things I love about summer is drying clothes outside. I asked my husband for a clothesline and he said they are way too hillbilly looking. What??!! This is the Cowboy, who loves saving money and doing things efficiently more than anything else in life! I do know that once he hung his sister up by her feet from their family clothesline, so maybe he has guilt associations. Whatever. Anyways, due to my lack of a clothesline, I just drape our clothes on our chain link fence.
I know. HILLBILLY!!!!!!!!!
So I timed it. My jeans dry in 17 minutes, cottons in about 15 seconds. OK not really. But close.
We are running a VBS in the morning and a Basketball camp in the afternoons. And when I say 'we' I mean everyone but me. We have a kick butt team of kids come up from Denver every year to do the VBS and they were up for doing a basketball camp this year as well. So somehow they found an awesome retired basketball coach (who happened to do his DTS at the same base as I did, only a year later and married a girl from Indiana and named their second son Nathan which was going to be Chubzie's name- enough bizarro connections?) and are making use of the school gym. So far everything's going great and I am enjoying the almost child free mornings.
My kitchen is rolling right along- I can't wait to show you guys the finish. I'm really really liking it!
And! I just got done with the boys' duvet covers! I am going with an antiquated british navy theme. Not the color, like the military branch. I was going to go with the almost out of style grey white and yellow theme, but just couldn't find anything to make it work. The two pronged attack of any cheapo DIYourselfer is paint and fabric.
I was good on paint, using my local WalMartian, but fabric was leaving me high and dry. SO! Moving on, I found twin fitted sheets that are a grey, grey blue, kahki and pale blue stripe. Since we had sucummbed to bunkbeds in their room, the twin sheets were a must.
We had been using a conglomerate of baby blankets to cover their bodies at night and the pickup and adjusting of said blankets was driving me nuts. When I found two twin fake-down comforters on sale for $25 bucks each at Target, I pile drived an old lady to get them and ran to the registers. Now, what to cover them with?
Duvet covers are expensive! Even trying to sew them yourself is expensive! Even using cheapo fabric! I was feeling forlorn due to the fact that various nosebleeds and puke would eventually turn the sparkling white comforters into a repulsive gag fest. Until-brain wave- I realized sewing two twin sheets together would make a perfect sized duvet cover for each downlike comforter! I was feeling so so smart until scrolling through the webs revealed every single mother on earth had done the same thing. Moving on.
I started looking for nautical themed twin sheets on the nets. Nothing. I would find something I liked, realise I'd have to spend their college funds purchasing them, and move on. Eventually I fell back on my old standby, WalMartian. They sell twin sheets singly for $5 each. That I can do!
After all the mental stress of this project, I simply got 4 grey blue twin sheets, and by putting 2 right side together, stitching around three sides, and turning them inside out, I have my duvet covers. I made sure that the top-more-finished-edge was the edge I DIDN'T sew, so that I can simply add buttons and some button holes to keep it together. No finish sewing! YES! They are plain and boring, but I have some ideas to spice up the bedding and keep with the old British Navy theme. Pictures to come.
If you have access to a Target, you might could find some twin sheets with cute patterns on the cheap. A duvet cover like this is super cheap, and can really make an impact on a kid's room. You might find a color scheme, a theme, or just a good punch of color this way! Hopefully you will have less frustrating drama!
Wednesday, July 20, 2011

Wednesday, July 6, 2011
We all love makeovers, right?
 And now, to give you all a break from the gorgeously appointed spaces that you have been looking at in other blogs, here is my bedroom. I realize it gives new meaning to the word hideous, but a total house makeover that relies on spare change for a budget takes time. Although I am going to say that I really love that comforter set. I got it at target and I think it provides a really fun palette inspiration. Anyways, onto the make over. See that early American orangey "oak" dresser? We bought it along with a bunch of other furniture in a "lump sum" purchase a few years ago. It's a great solid hardwood piece, and while not totally my style, its worth working in. I decided to amp up its country feel and add a dash of modernising. Here's how the vision played out:
 First I stripped and sanded the top. at first, I only used a thin layer of stripping medium, which dried insanely fast in the arid heat and didn't strip anything off when I used my cheapo plastic stripping tool. i discovered the best way was to put on a really thick goopy layer, wait only about 5 minutes (rather than the 30 that they suggest) and then scrape with the grain to get the finish off. Then I sanded. There were a few parts where the finish didn't come off so I just sanded until I got down to wood. If I had it to do again, I would have just re-stripped those sections because the sanding took FOREVER. Even with an electric sander, I sanded for a lot longer than I wanted too and I still had spots where the stain didn't cover perfectly. So strip people. Strip it good. Moving on.
 The stain I used was Minwax, and I custom mixed "antique walnut" with "walnut" because I didn't have enough of either. I was picturing a darker finish than this in my mind, but this ended up working really well with the paint color. I stained and immediately wiped off, realized I needed to leave it on longer, stained again and didn't touch it for 10 mins, then wiped off again. I used those blue automotive paper towels to wipe off, and a nice brush to brush the stain on. I sprayed on three coats of polycrylic. The dark spots you see above are just shadows. Didn't the stain really bring out the beauty of the wood?
 The dresser is painted in a creamy white, and I'm just going to confess that I didn't clean it, or primer it, or even brush off the cobweb on the side. I just painted. And, next time, I'm going to try rollering it to get a really really smooth finish. I was going to get those cup drawer pulls to really countrify this baby, but when I saw these brushed bronze numbers at Walmart, I thought they would complement the piece and provide some 'lightness'. The cup pulls would have been a heavy solid touch to an already heavy solid piece.
 So what do you think? I think the color and contrast of dark and light modernize it, while still amping up its country roots. I LOVE the walnut top! And I think the hardware works too. Next up for this room is getting rid of the NASTY mauve carpet- but check it out, my bedding works with it! We're all about working together here at Casa Mc Nasty.
Monday, July 4, 2011
The difference in my boys....

LB and Chubzie are almost total opposites. Everything from the way they figure out a problem to how they play is different. Example:
This morning, as I was blearily trying to get my coffee mug to my mouth, the boys ran in from outside with something clutched in their hands. They were excited, so I asked them what they had, knowing that they had found the cinnamon rolls I had forgotten in the car.
LB: " We were outside, and then in the car and it was wrapped in silver and I unwrapped and it was sweet! And Chubzie has some and we were....
Here Chubzie interupted:
Chubzie: "I.....I EAT!"
That pretty much sums them up!
Saturday, June 25, 2011
So I've been gone for awile...
It's true. I've pretty much abandoned my blog for the last month or so because I've had so much going on. Only recently have I been able to slow down and take stock of life. I've got a bunch of posts backlogged, so this will be the usual disappear for awhile and then come back with several blogs a day until I've purged them all from my system!
The best news of the summer? the birth of BabE on memorial day! At 6:30 in the morning my water broke and we rushed to the hospital, fully expecting to have a baby by noon! Well, noon rolled around and nothing- not a single contraction! The nurse came in and said if nothing was happening by 1:30 we were going to pitocin. I had a while to think about it and at first I was kind of freaked out. But then I thought about how I had given this whole process to God. He knew what He was doing, and if Pitocin was a part of that, then I wasn't going to freak out about it.
1:30 came, I got the Pitocin, and finally I started with some contractions! I mean, I loved the 6 straight hours of HGTV watching, but I was there to have a baby and was ready to get the party started! I had wanted to try an epidural with this birth, so right about the time the pain was getting intense they put it in. BLISS! PURE BLISS! I sat back watching TV and talking with Ron while my body did its thing. Every once in a while the nurse would come in and say, Oh yes, they are quite close together and boy are they spiking! I wasn't feeling any of it! It was awesome!
So pretty much the nurse checked me, the baby was crowning, and the doctor made it in time to tell me to push three times and babE was here! It was the most peaceful birthing experience ever! BabE proved to be one mellow fellow in the madness that ensued, and is just the sweetest thing ever. We love him to bits and I have been pleasantly surprised at how LB and Chubzie have welcomed him into our family with open, squishing, arms.
So stay tuned for the rest of my crazy and fun news!
The best news of the summer? the birth of BabE on memorial day! At 6:30 in the morning my water broke and we rushed to the hospital, fully expecting to have a baby by noon! Well, noon rolled around and nothing- not a single contraction! The nurse came in and said if nothing was happening by 1:30 we were going to pitocin. I had a while to think about it and at first I was kind of freaked out. But then I thought about how I had given this whole process to God. He knew what He was doing, and if Pitocin was a part of that, then I wasn't going to freak out about it.
1:30 came, I got the Pitocin, and finally I started with some contractions! I mean, I loved the 6 straight hours of HGTV watching, but I was there to have a baby and was ready to get the party started! I had wanted to try an epidural with this birth, so right about the time the pain was getting intense they put it in. BLISS! PURE BLISS! I sat back watching TV and talking with Ron while my body did its thing. Every once in a while the nurse would come in and say, Oh yes, they are quite close together and boy are they spiking! I wasn't feeling any of it! It was awesome!
So pretty much the nurse checked me, the baby was crowning, and the doctor made it in time to tell me to push three times and babE was here! It was the most peaceful birthing experience ever! BabE proved to be one mellow fellow in the madness that ensued, and is just the sweetest thing ever. We love him to bits and I have been pleasantly surprised at how LB and Chubzie have welcomed him into our family with open, squishing, arms.
So stay tuned for the rest of my crazy and fun news!
Wednesday, May 25, 2011
I know, enough of the pregnancy shots....

But I just love my belly in this one! And what could be more meaningful than celebrating my pregnancy with some tasteful belly art?
Wednesday, May 18, 2011


Monday, May 16, 2011
My latest project.......
 There has been a huge trend in the blog world of reusing and repurposing old furniture. I love it! Not necessarily because its green, but because its cheap! My budget is slightly less than on-a-dime, therefore my house is full of ugly free things! However, these gals are showing that with a bit of thought and spray paint, there are things I can make beautiful out of the free cheap and ugly bin. This dresser was given to us by some friends. I don't think its ugly, it just doesn't go with anything in my house. I knew I wanted to use it in the boys room, and I wanted it to be gray since I am introducing that color to their "scheme".
 The hardware is interesting, and there are GREAT details that I thought would glaze really well.
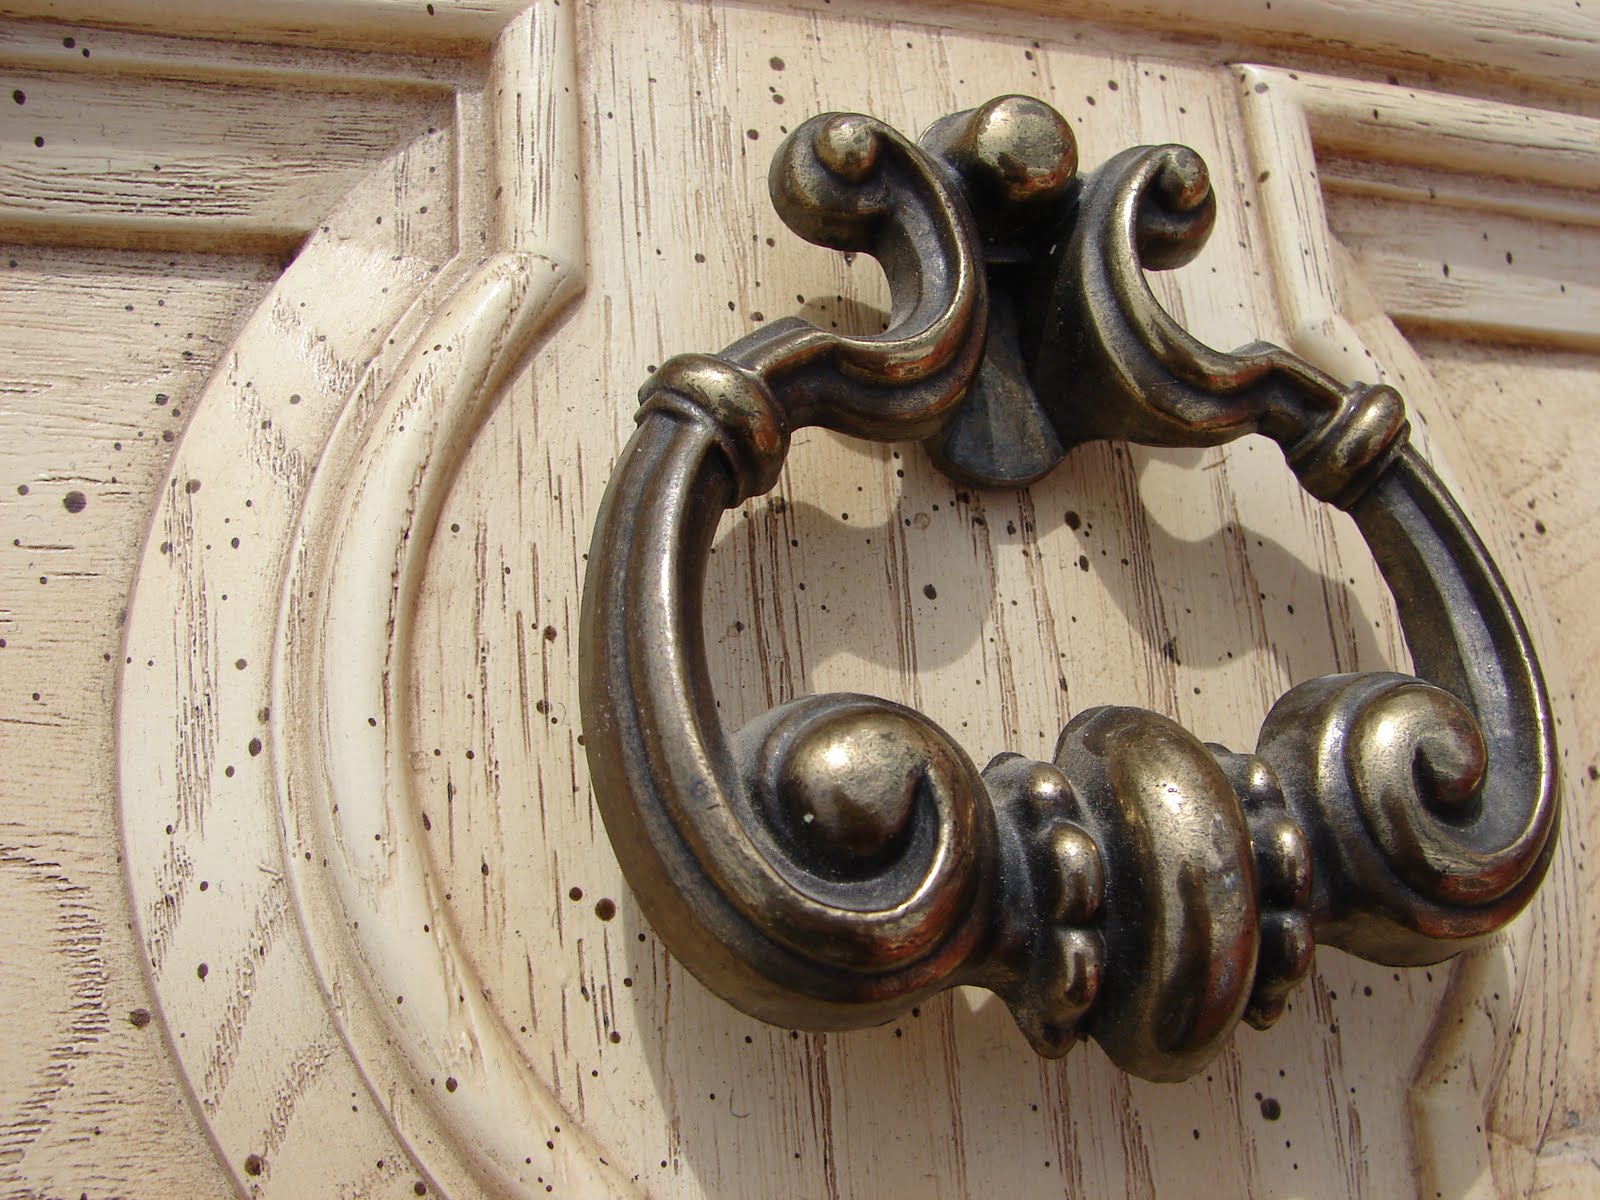
 First thing is to remove all hardware and spray paint black. I had a can of Rustoleum lying around, so I used that. I think I sprayed them about three times, letting them dry between coats and using the "thin and even" rule.
 Then I primered all the drawers and dresser itself. I used a colored primer since I was going for a gray end color. I didn't bother with washing or sanding the piece, and honestly I don't think it made that big a difference. Not exactly professional, but I can live with that! The whole thing took two cans of spray primer.

 Then I spray painted everything with gray spray paint. Took two cans. On to the fun part! I don't have a Lowes or Home Depot within three hours, but I do have an ACE Hardware. They actually had the glaze! It took a while to convince them it was possible, but eventually they tinted the glaze to a dark browny black color.
 Using an el cheapo brush, I just brushed the stuff on, making sure to get it in all the cracks and crevices. Then, before it was dry, I wiped it off with a damp rag, leaving just a little in the edges. I don't like overly distressed and chipped furniture a la shabby chic, but I think a little glazing can really bring out the wow.
 The top drawer is glazed, the bottom one isn't. See how understated it is? A little is best, in my opinion. After that, I glued and stapled a few of the drawer backs that were loose, and then rescrewed the handles back on.

 The end result? A really pretty piece of furniture that was cheap and easy to redo! All in all, it cost me about 25 dollars to redo, with the glaze being the most expensive at $14. Of course that glaze will probably last me the rest of my life!


Subscribe to:
Posts (Atom)